
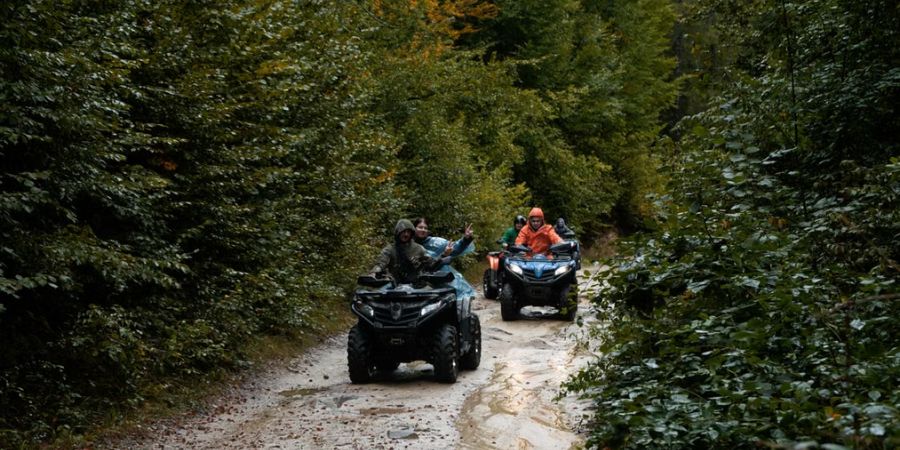
A reliable trail day begins in the garage, not at the trailhead. A focused inspection can uncover wear, leaks, and loose components while there is still time to deal with them properly.
Prepare the Machine, Not Just the Gear
Start by identifying the complete ATV: model code, year, engine displacement, trim, and drive configuration. A family name alone is not enough. Grizzly, Moto-4, and other Yamaha four-wheelers may use different components across production years and two- or four-wheel-drive versions.
If the inspection reveals a repair need, search for Yamaha ATV parts only after tracing the concern to the correct system. Comparing the existing part number with a model-specific diagram is more dependable than ordering by appearance.
Before getting into detailed service, note how the ATV behaved on its last outing. A delayed start, new vibration, steering pull, burning smell, or unfamiliar noise may offer the best clue about where to look first.
| System | Warning sign | Parts to inspect |
| Starting and electrical | Slow cranking, clicking, intermittent power | Battery, terminals, starter, switches, grounds |
| Fuel and intake | Hard starting, hesitation, fuel odor | Fuel lines, filter, pump or carburetor components, air filter |
| Drivetrain | Clunking, vibration, poor power transfer | Belt or chain, sprockets, axles, bearings, differentials |
| Brakes and chassis | Soft control feel, pulling, looseness | Pads, fluid, wheels, steering joints, suspension hardware |
| Sealed assemblies | Damp areas, oily residue, and collected dirt | Seals, O-rings, gaskets, clamps, mating surfaces |
Inspect the ATV in Four Practical Passes
Working by system is faster than moving randomly around the machine. It also makes related damage easier to recognize.
1. Power, Starting, and Controls
Turn the key and watch the display or indicator lights before starting. The engine should crank normally, switches should respond consistently, and the battery terminals should be clean and secure. Check exposed wiring for rubbing, damaged insulation, or connectors that may have loosened during the previous ride.
A battery that starts the ATV at home is not automatically healthy. Slow cranking or dimming lights can signal low charge, a poor terminal connection, or a charging-system issue. Resolve the cause rather than assuming a longer ride will recharge it.
2. Fluids, Fuel, and Airflow
Check engine oil according to the procedure for the specific model. On applicable four-wheel-drive machines, inspect the final-drive and differential areas as well. Coolant and brake fluid should be reviewed where the model uses those systems.
Look beneath the ATV and around covers, drain points, hoses, and case joints. Fresh residue deserves attention even if the fluid level has not dropped noticeably.
Then inspect the air filter and intake path. Dust, water, rodent debris, or a poorly seated filter can affect performance. Fuel hoses should be dry, flexible, and firmly secured; any gasoline odor needs to be traced before startup.
3. Drivetrain and Power Delivery
Drivetrain design varies, so follow the owner’s or service manual for access and adjustment procedures. Belt-driven models may show glazing, cracking, frayed edges, or contamination inside the housing. On chain-equipped ATVs, examine tension, lubrication, and sprocket-tooth condition.
Also look at:
- Axle boots for splits, grease leakage, or loose clamps
- Bearings and joints for play, rough movement, or damaged seals
- Differential and gearcase areas for impact marks or seepage
Do not dismiss a new clunk or vibration simply because the ATV still moves. Extra load, rough ground, and distance from the trailer can turn a developing driveline problem into a stopped machine.
4. Brakes, Wheels, Steering, and Suspension
Brake controls should move smoothly and feel firm. Inspect visible pad material, hoses, fluid reservoirs, and the areas around calipers for leakage or damage. A soft lever or pedal, weak braking, or unusual free play calls for correction before the ride.
Measure tire pressure while the tires are cold, using the specification for the exact ATV. Walk around each wheel to check tread, sidewalls, valve stems, and wheel fasteners.
With the engine off, move the handlebars through their normal range and feel for binding or excess play. Examine tie rods, ball joints, control arms, shocks, and mounting points. Mud often hides cracked boots and loose hardware, so clean heavily coated areas before judging their condition.
Give Small Hardware a Purposeful Check
Clips, cotter pins, grommets, clamps, seals, and fasteners are easy to overlook because they are not major assemblies. Their job, however, may be to retain a brake component, secure a hose, protect wiring, or keep dirt and water outside a bearing.
The practical approach is to inspect small hardware alongside the system it supports. When servicing an axle, check its boot clamps and retaining pieces. When removing a cover, inspect its gasket and fasteners. This builds a complete repair list without encouraging unnecessary replacement.
Three trail-day interruptions are especially preventable:
- A loose battery connection that becomes intermittent over rough terrain
- A damaged axle boot that releases grease and admits grit
- A missing or weakened fastener that allows a guard or bracket to move
Turn the Inspection Into a Short Action List
Separate findings into three categories: correct now, monitor, and scheduled service. Safety or control concerns, including brake trouble, steering looseness, fuel leakage, and damaged tires, belong in the first category. Do not ride if a problem cannot be corrected confidently; consult a qualified Yamaha technician when the required repair is beyond routine owner maintenance.
This system-based approach also prevents fragmented parts orders. If a driveline issue is confirmed, review the main component together with its bearings, seals, retainers, and mounting hardware. For a starting complaint, diagnose battery power, ignition, fuel delivery, and airflow before deciding what actually needs replacement.
Yamaha ATV Pre-Ride Inspection Checklist
Before loading the trailer:
- Record the full model, year, displacement, trim, and drive configuration.
- If no fuel leak or fuel odor is present, start the engine and test the battery response, switches, lights, and controls.
- Check required fluids, the air filter, fuel hoses, and visible sealing points.
- Inspect the belt or chain, sprockets, axles, boots, bearings, and gearcases.
- Test brake feel; examine tires, wheels, steering, and suspension.
- Revisit any noise, vibration, warning light, or handling change from the last ride.
- Verify part numbers and diagrams for every confirmed repair.
Frequently Asked Questions
Should the inspection happen before or after the ATV is loaded?
Complete the main inspection before loading, when every side of the machine is accessible, and repairs are easier. At the trailhead, perform a brief second walkaround to check tire condition, tie-down-related contact points, and anything that may have shifted during transport.
What basic items are useful to carry on a trail ride?
Choose supplies for the machine and route, but a tire-pressure gauge, compact tool kit, approved tire-repair equipment, spare model-correct fuses, and a way to communicate or navigate can be useful. Carrying parts does not replace repairing known faults beforehand.
Can dried mud interfere with a pre-ride inspection?
Yes. Packed mud can conceal leaks, torn boots, loose hardware, and impact damage. It may also collect around cooling surfaces or moving components. Clean the ATV enough to see the chassis and service areas clearly before inspecting them.
Does an ATV need another check after a short test ride?
A controlled test near home can reveal problems that are not visible while parked. Afterward, look for fresh leakage, unusual heat, new warning indicators, and loose hardware. Recheck any area that was recently serviced.